

Are you planning a gable roof with a roof recurrence for your building project? With cadvilla, even complex roof shapes can be implemented precisely and easily. In this tutorial, we use two practical examples to show you how to define the basic shape, set the gables correctly, and easily correct any overhangs on the roof sides. Follow our step-by-step guide to master roof construction and apply these techniques to other roof types, such as hipped roofs with a roof recurrence.
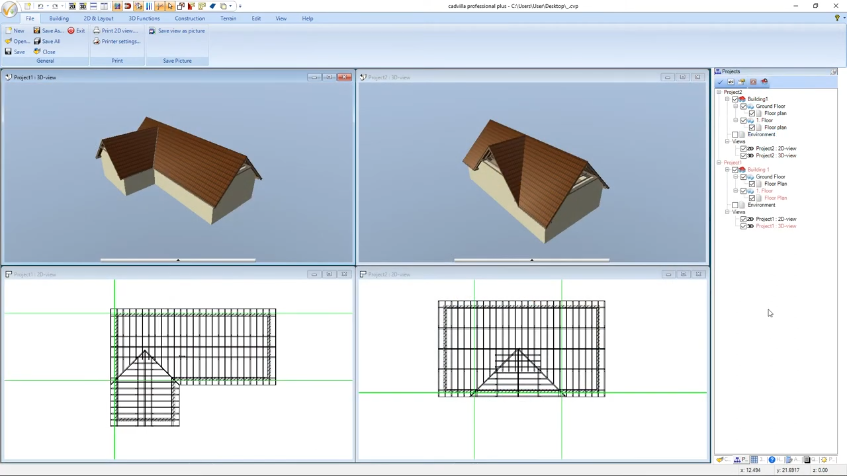
Part 1: L-shaped floor plan
 [00:38] Set guidelines for roof positioning
- Deactivate the grid and the line width to be able to snap and orient yourself better.

- Use guidelines to exactly define the positions of the three gables.
- Select
2D & Layout>2D guidelines>Guideline>Horizontal guideline(or shortcutH) and place them at the desired locations in the floor plan. - Set vertical guidelines via
2D & Layout>2D guidelines>Guideline>Vertical guideline(or shortcutV). - Press the shortcut
Pfor anumeric parallel guideline, enter the desired distance (e.g.,0.05m) and confirm.
[02:05] Draw roof construction
- Go to the menu
Building>Roof construction>Insert roof>Insert roof on polygonal contour. - Click the basic roof shape along the external walls and your created guidelines.
- Complete the input with a right-click and select
Complete.
[03:27] Define roof settings and gables
- The dialog box for the roof construction opens automatically.
- In the 3D preview, select the three roof sides one after the other that are to become a gable.
- Change the profile type to
Gablefor each of these sides.
[04:30] Correct additional roof overhang
- Often, an unwanted offset occurs due to different standard overhangs (e.g., 15 cm difference between gable and hipped roof side).
- Select the affected roof side in the preview.
- Change the value under
Overhang(e.g., from0.60to0.45m) and confirm the input with theTabkey. - Click on
OKto finish the roof.
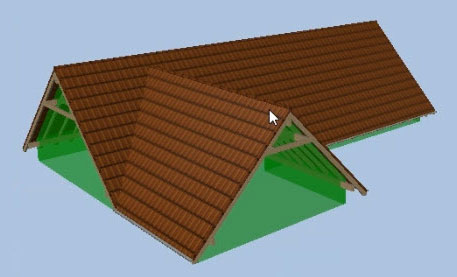
[05:38] Important: For gables that are to meet flush in height, the gable sides must also have exactly the same width with the same roof pitch.
Part 2: Rectangular floor plan
 [06:40] Create guidelines for the gable area
- Deactivate the grid and the line width to be able to snap and orient yourself better.
- Press the shortcut
P(numeric parallel guideline). - Set guidelines from the external walls inwards to exactly define the width and position of the roof recurrence (e.g., at
3.50m and10.00m).
[07:24] Enter basic roof shape
- Select again
Building>Roof construction>Insert roof>Insert roof on polygonal contour. - Click the 8 corner points along the walls and the new guidelines.
- End the process with right-click >
Complete.
[08:36] Change profile type to gable
- In the roof dialog that is now open, select the three corresponding roof sides.
- Change the profile type for each of these sides to
Gableand confirm withOK.
[09:12] Adjust overhang in the properties
- If a protruding roof corner is visible in the 3D model, measure the difference in the 2D view (e.g., with the shortcut
Dfor the distance function). - Select the roof in the 3D model, right-click and select
Properties. - Select the affected roof side and reduce the
Overhangby the measured value (e.g., to0.45m). - Confirm with
Taband then withOK. The roof is now displayed absolutely flawlessly.